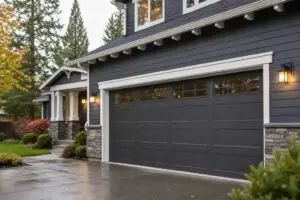
Garage door opener cost can feel confusing because you’re not just paying for a box on the ceiling. You’re paying for the opener type, the condition of your door, and the time it takes to make everything run safely and smoothly. And local factors matter too. Older homes with heavier doors, damp coastal air that speeds up corrosion, or tight garages common in city neighborhoods can all change what your project involves.
In this guide, you’ll learn what usually drives costs for repair, replacement, and new installs. You’ll also get practical decision cues, plus examples that mirror real situations homeowners run into.
Best for: Homeowners budgeting for a repair or replacement and trying to avoid surprise add-ons during a service visit.
Not ideal when: The door is off-track, the spring is broken, or the opener is straining against a heavy, unbalanced door.
Good first step if: You can safely test the wall button, remote, and safety sensors to narrow down a simple electrical issue.
Call a pro if: The door won’t lift manually, makes loud grinding, or you see frayed cables or a crooked door.
Quick Summary
- Opener cost depends on drive type, motor strength, features, and how much setup your existing door needs.
- Repairs are often about one failed part, but repeated issues can point to bigger wear or a mismatched opener.
- Replacement is usually the cleanest path when the unit is old, parts are obsolete, or the opener is underpowered.
- New installations cost more when wiring, framing, or door balance issues need extra work.
- Your door’s weight, noise level, and local weather exposure can change what hardware makes sense.
What Affects Garage Door Opener Cost the Most?
The biggest drivers are drive type, the door’s weight/condition, and labor needed to make the system safe and aligned.
Drive type is how the opener moves the door: chain (rugged, common), belt (quieter, usually pricier), screw (threaded rod), and wall-mount/jackshaft (requires compatible track and torsion setup).
Door issues raise costs because a heavy, swollen, or out-of-balance door overworks any opener.
Quick cost clues: door balance, track/roller drag, power/wiring access, added features (battery backup, keypad, smart control), and noise needs (bedroom above favors quieter units).
Garage Door Opener Repair vs Replace Cost: How to Decide
Replacing is usually the better value when the opener is old, unreliable, or incompatible with your door, while repair makes sense when one clear part failed and the rest of the system is solid. So what does this mean in practice? You’re deciding whether you’re fixing a single weak link or trying to patch a whole worn-out chain.
Repairs often target one component, like a capacitor (helps the motor start), a logic board (the “brain” that reads buttons and sensors), a gear kit (transfers motor power), or safety sensors (photo eyes that stop the door if something is in the way). If your opener behaves consistently after the fix and the door moves smoothly, repair can be reasonable.
Replacement becomes the cleaner choice when failures stack up. If the opener struggles, reverses randomly, or can’t be set up reliably, you can end up paying for repeat service calls. And if your door is heavier than what the opener was meant for, even a repaired opener may keep failing.
For example, if your opener works on cool mornings but fails on damp afternoons, moisture and temperature swings might be exposing a weakening circuit board or sensor connection. That kind of intermittent problem can be a time sink to chase.
| Option | Best for | Limits | Typical outcome |
|---|---|---|---|
| Repair existing opener | One clear failed part | Can’t fix age or mismatch | Restores function if door is healthy |
| Replace opener unit | Frequent problems or outdated unit | Needs fresh setup and programming | More reliable daily use |
If you want a quick rule-of-thumb decision checklist:
- Repair leans smarter when: the opener is newer, the door is balanced, and the issue is obvious (like misaligned sensors).
- Replace leans smarter when: the opener is noisy, inconsistent, or parts are hard to source.
- Either way, don’t ignore door hardware. Worn rollers and hinges can make any opener feel “bad.” A good starting point is basic noise diagnosis like tracking down loud door sounds.
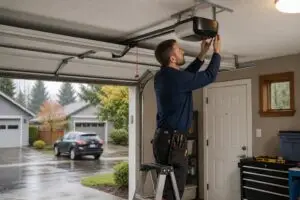
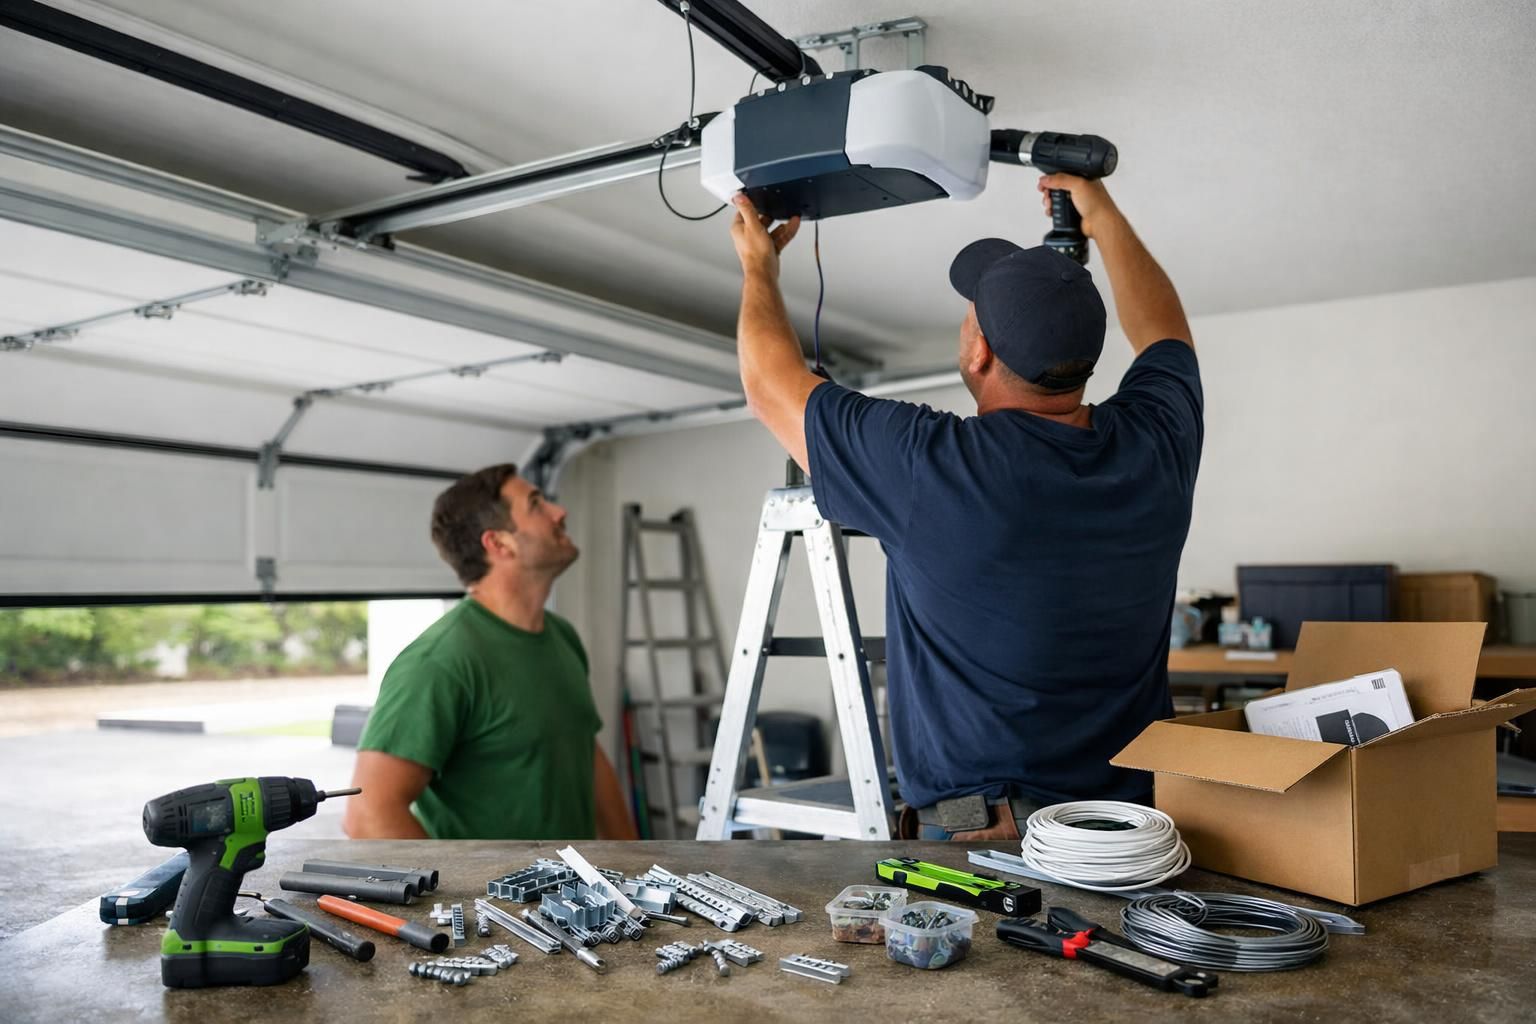
Average Cost to Replace a Garage Door Opener: What’s Included
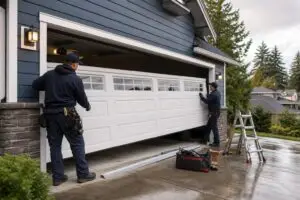
The average cost to replace a garage door opener usually covers removing the old unit, mounting the new opener, reconnecting it to the door, and setting up safety devices and controls. Replacement is different from a first-time installation because you often reuse an existing outlet, header bracket location, and door arm position, as long as they’re sound.
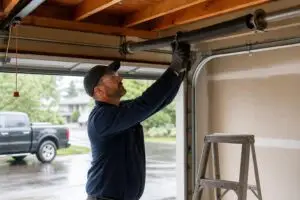
A standard replacement typically includes: 1. Confirm the door is balanced and moves smoothly by hand. 2. Remove the old opener head and rail. 3. Install the new rail, head unit, and mounting hardware. 4. Reconnect the door arm and set travel limits. 5. Align and test safety sensors. 6. Program remotes, keypad, and any vehicle buttons.
Sometimes the tech must add bracing or support if the opener was mounted to uneven framing or weak ceiling structure, so the new unit doesn’t vibrate loose.
Garage Door Opener Installation Cost for a New Setup
Garage door opener installation cost is usually higher for a first-time setup because the garage may need wiring, mounting support, and a full compatibility check. You’re not just swapping a motor; you’re creating a safe mounting point, control wiring path, and travel geometry for the door.
Common time add-ons on new installs include:
- No ceiling outlet near the opener location.
- No pre-run wiring for the wall control button.
- High ceilings or unusual framing that needs bracing.
- Odd track geometry, such as high-lift setups.
- A heavy door that needs spring adjustment before adding an opener.
Converted garages with insulation or drywall can hide framing, making secure mounting slower.
How Much Does a LiftMaster Garage Door Opener Cost Compared to Others?
LiftMaster cost varies by model and features, and the real differences are often parts support, feature set, and installer familiarity, not a fixed “LiftMaster costs more” rule.
Compare any brand by drive type (belt, chain, wall-mount), features (battery backup, camera, smartphone control, keypad), compatibility (door height, track style, proper balance), and serviceability (remotes, sensors, boards).
If a bedroom is above the garage, a quiet belt drive may be worth it; detached garages can go simpler. Switching systems may require reprogramming remotes and vehicles.
Hidden Costs and Common Mistakes That Change Your Final Price
The most common hidden cost is discovering the door needs repair before any opener can run reliably. The opener is visible, but the door is the load.
Common mistakes that change the final price include skipping a balance check, keeping worn rollers, leaving safety sensors misaligned, mounting to weak framing, and ignoring maintenance until gears or the motor are overworked.
Conclusion
If you’re trying to pin down garage door opener cost, start by looking at your door’s condition, then decide whether you’re fixing one failed part or replacing an aging system. In practice, a smooth, balanced door keeps both repair and replacement simpler. Your next step is to test manual door balance and sensor alignment, then get help if the door feels heavy or unsafe.